Welcome to our dedicated page on flute making! Whether you're a seasoned woodworker or just starting out, this page is dedicated to providing you with all the information you need to create your own beautiful flute. Learn more about each of our flute making kits, the necessary supplies for each style of kit and step-by-step video lessons on how to complete them.
The art of flute making is a rewarding and hands on craft that requires patience and attention to detail. With our flute making kits, detailed instructions, and video lessons, you'll have all the resources you need to create a flute that you can be proud of.
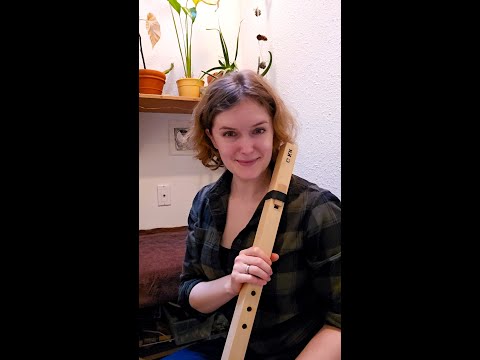
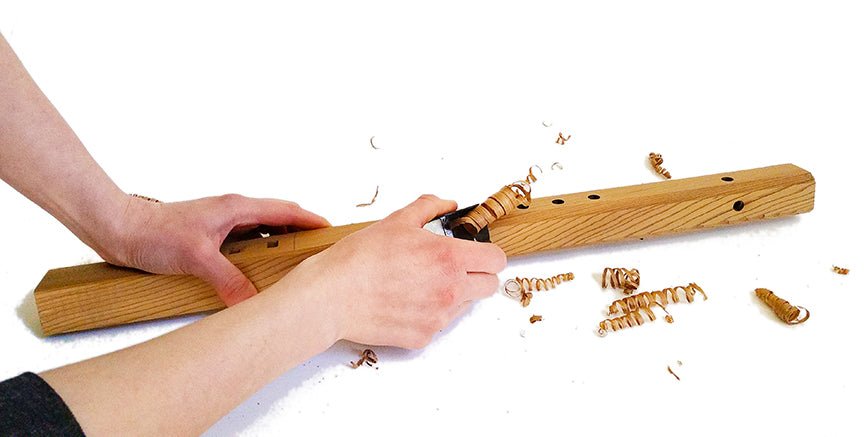
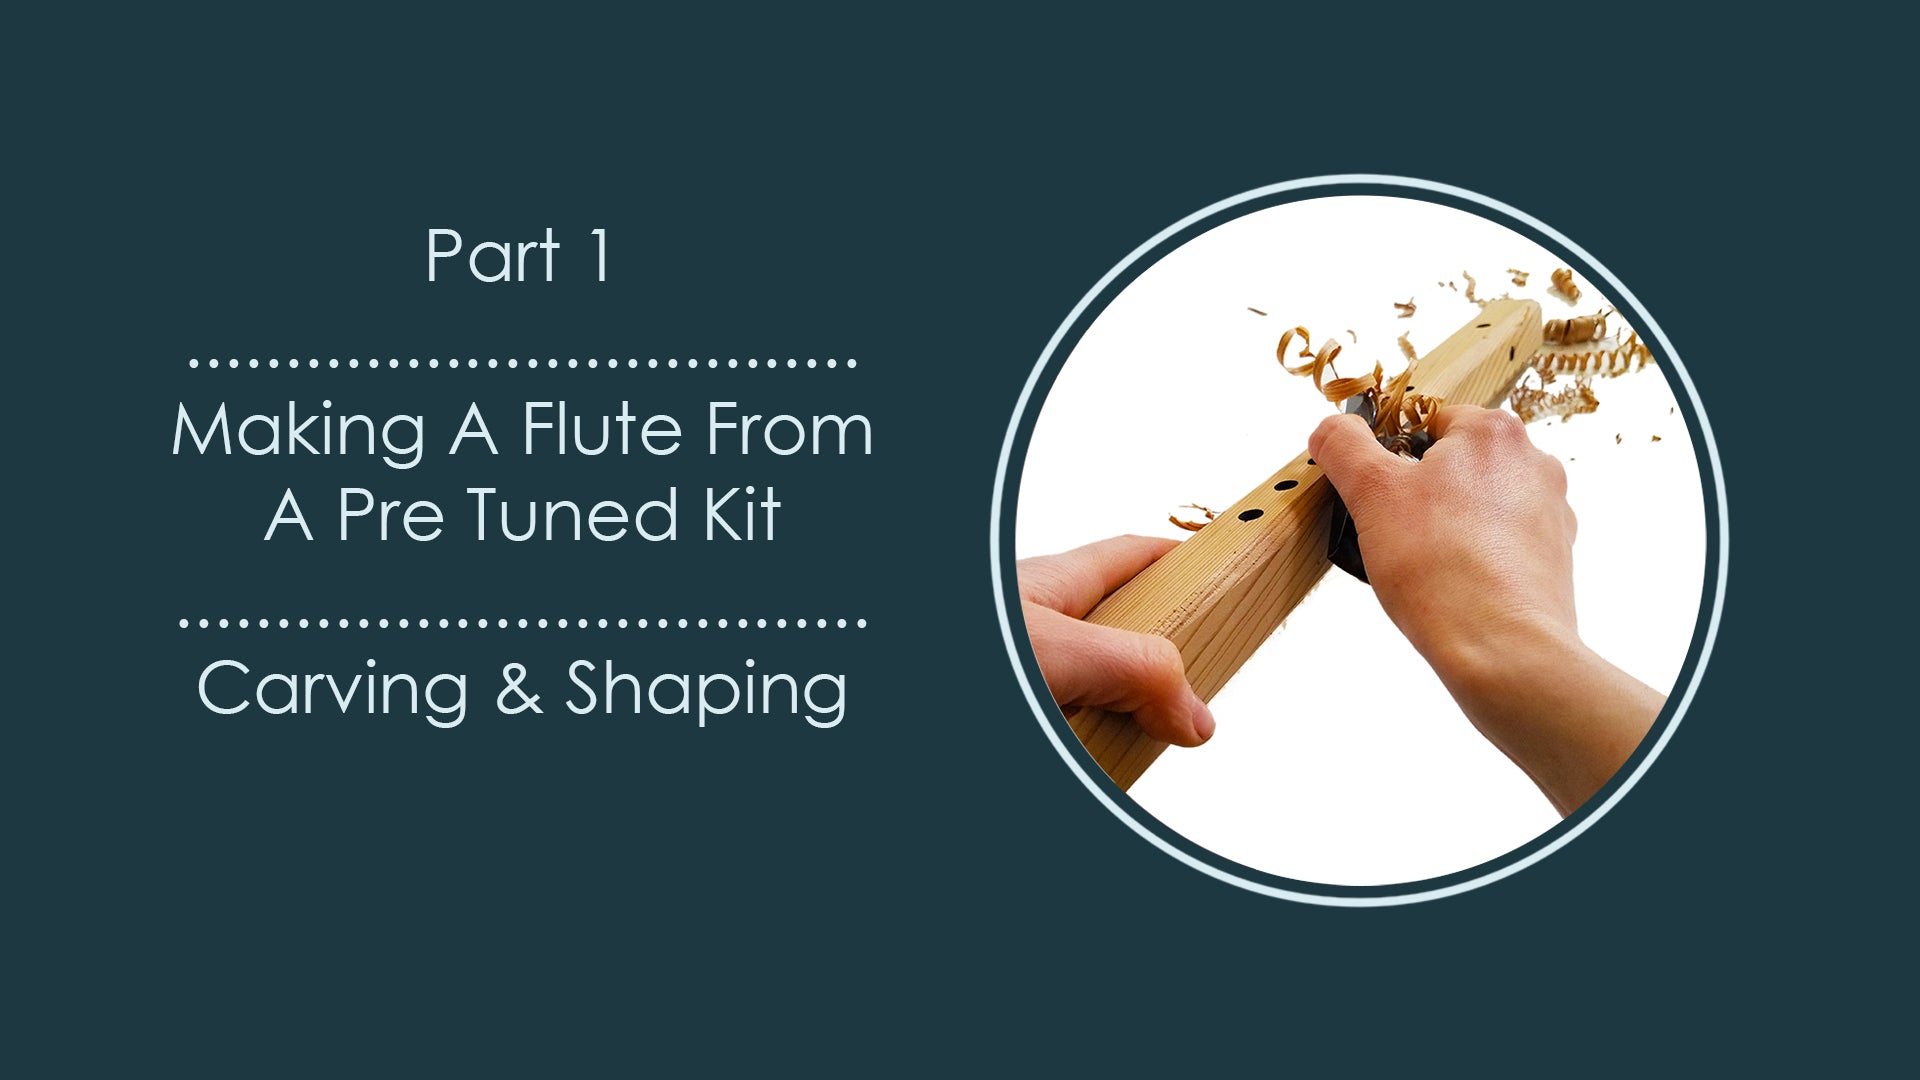
In this video I will walk you through how to carve your pre tuned flute kit using a hand plane.
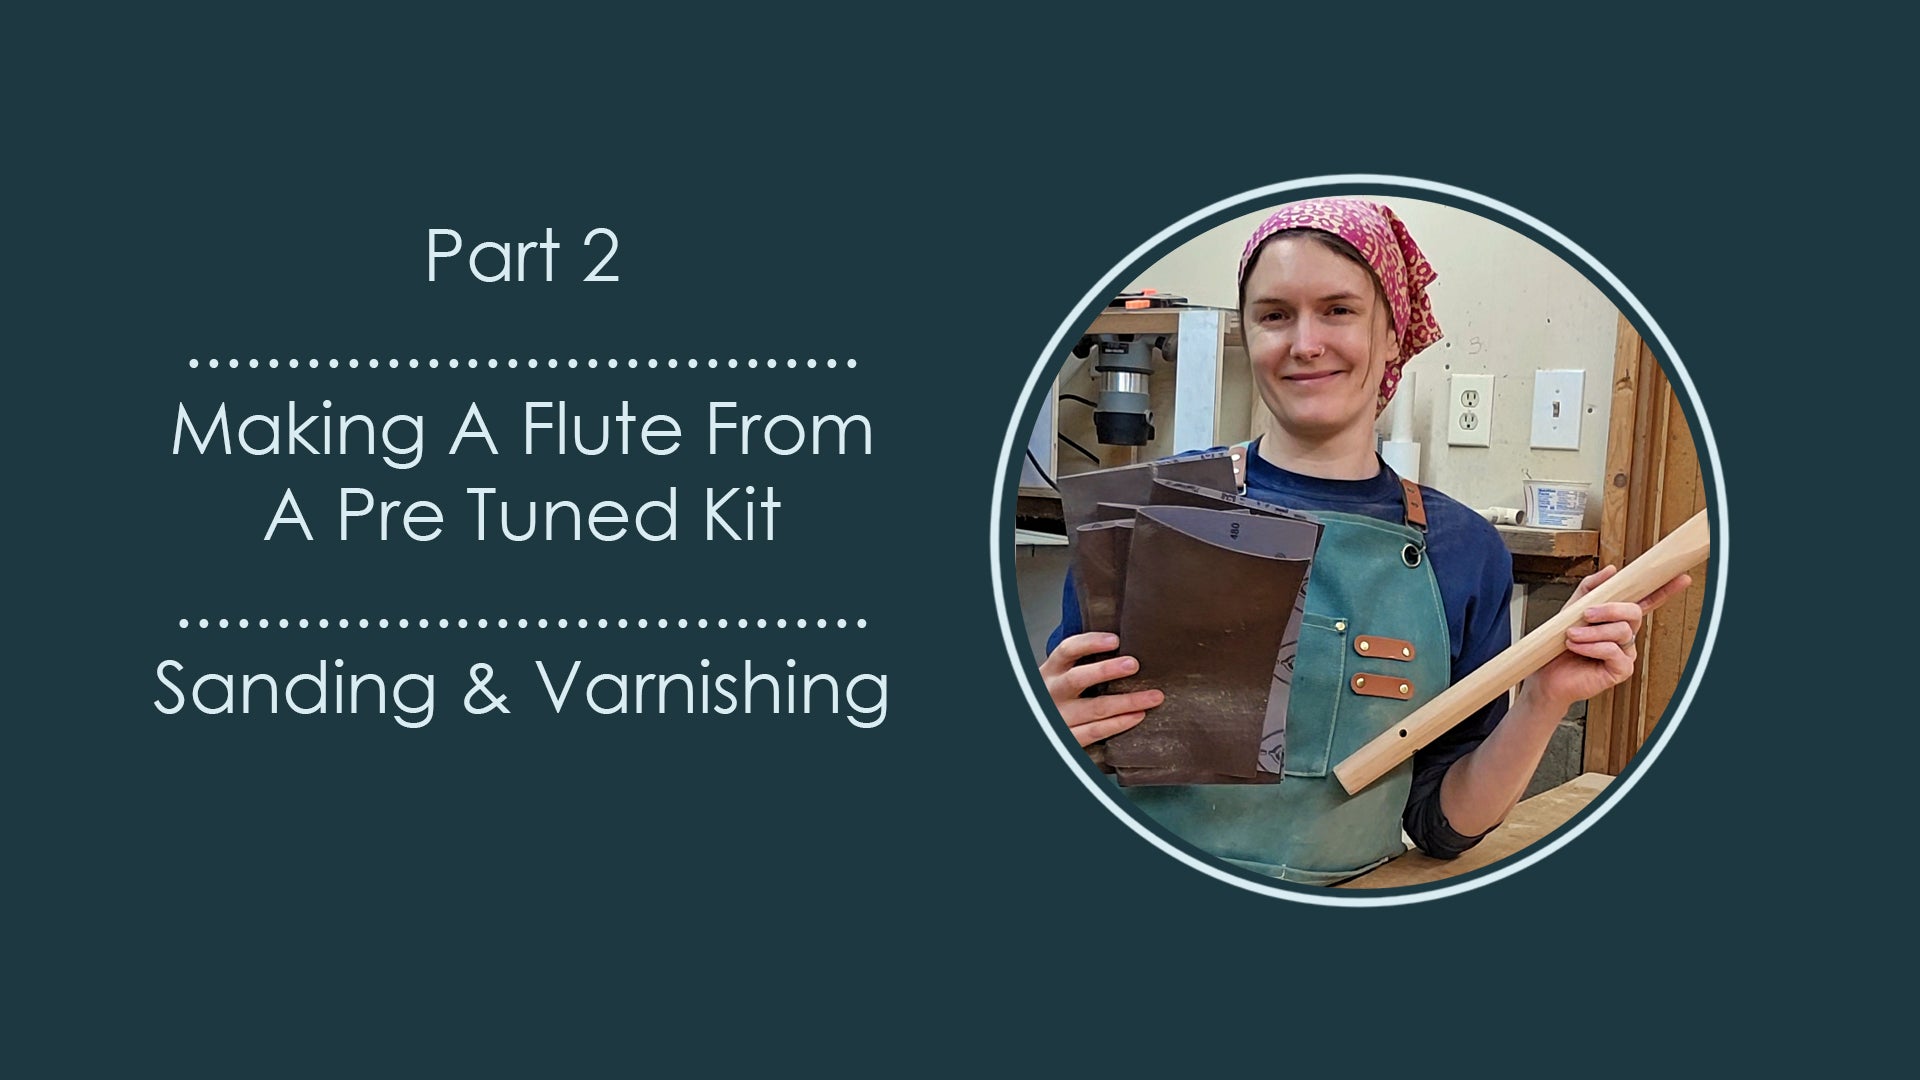
In this video I will walk you through how to finish sand your flute kit with sandpaper and how to apply varnish to the outside of the flute.
Our Pre Tuned Flute Making Kits are the perfect option for any level of woodworker, from beginner to advanced. This is the style flute making kit that is used nation wide by Tribes, schools and groups to learn woodworking and music. With supervision, even a child can make a flute from one of these kits!
They are made from western red cedar and come fully tuned and playable right out of the box. This kit includes one square cedar flute(ready to be shaped and varnished), a flute block, leather to tie the block on , and detailed instructions on how to shape, finish, and play your flute.
We recommend you have a well ventilated space to shape and sand your flute, or work outside as it can get very dusty!
The first step of making a flute from a pre tuned kit is to use a hand plane to carve it into the desired shape.
Once the flute is shaped you will hand sand using sandpaper in grits 60, 80, 100, 102, 150, 180, and 220 to finish shaping and remove the scratches from the previous grit of sandpaper until the flute is smooth and scratch free.
The flute should be wiped or blown off to remove the dust from sanding and then you can apply varnish of your choice to the outside and main bore (the slow air chamber is already sealed) , repeating until the desired look is achieved. This part of the process is messy so it is a good idea to have a drop cloth to protect your floor.
Don't forget to shape and varnish your flute block! There are two blocks included with each flute making kit, A flat block base and either an animal shaped block or a unshaped block. The block base is meant for gluing objects to and the larger block is meant to be carved as much or as little as you want, so get creative!
. A small hand plane, a carving knife, or a rasp for shaping.
. Sandpaper in grits 60, 80, 120, 150, 180, and 220.
. Varnish (we recommend oil based polyurethane).
. A varnish applicator such as a paint brush, a foam brush or blue shop paper towels.
. Gloves for applying varnish.
. A dust mask.
. Swab for applying varnish inside the bore (optional)
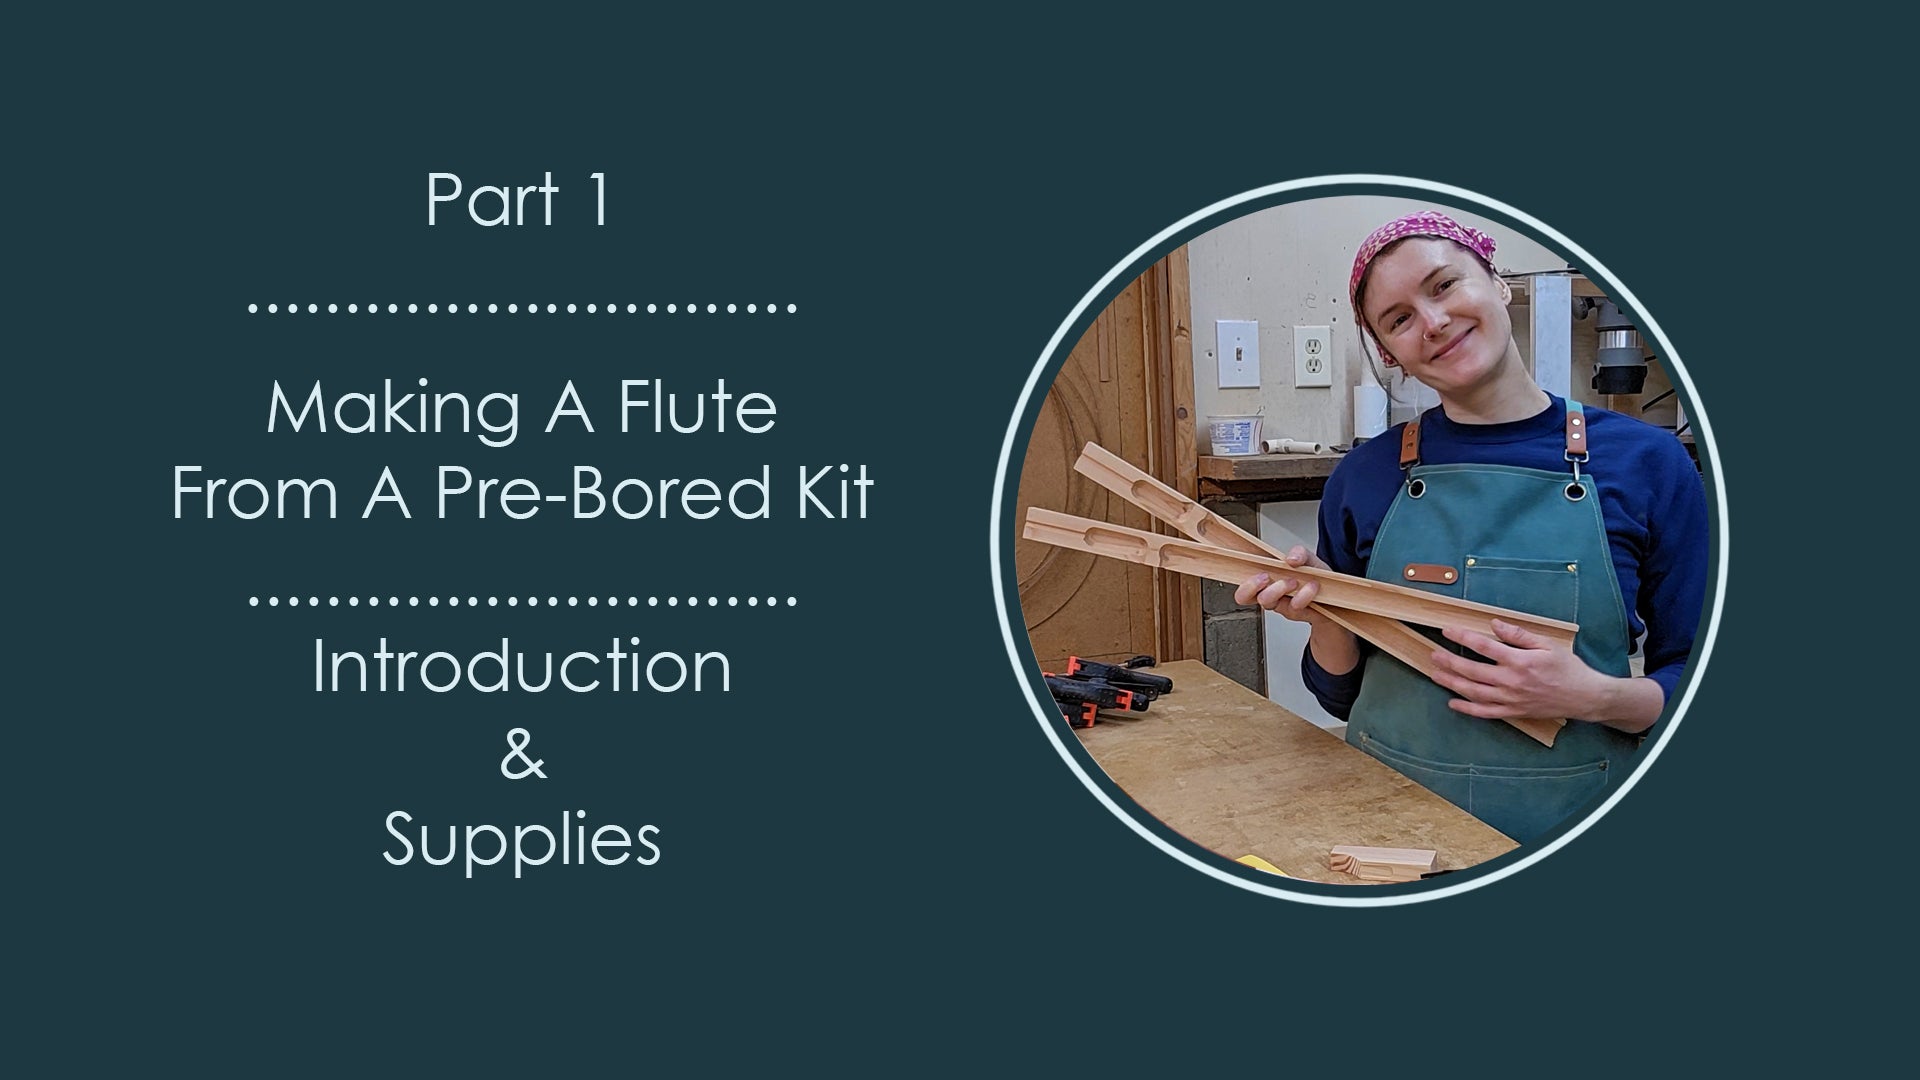
In this video, I give an overview of what's included with the kit and go over all the necessary supplies to complete it.
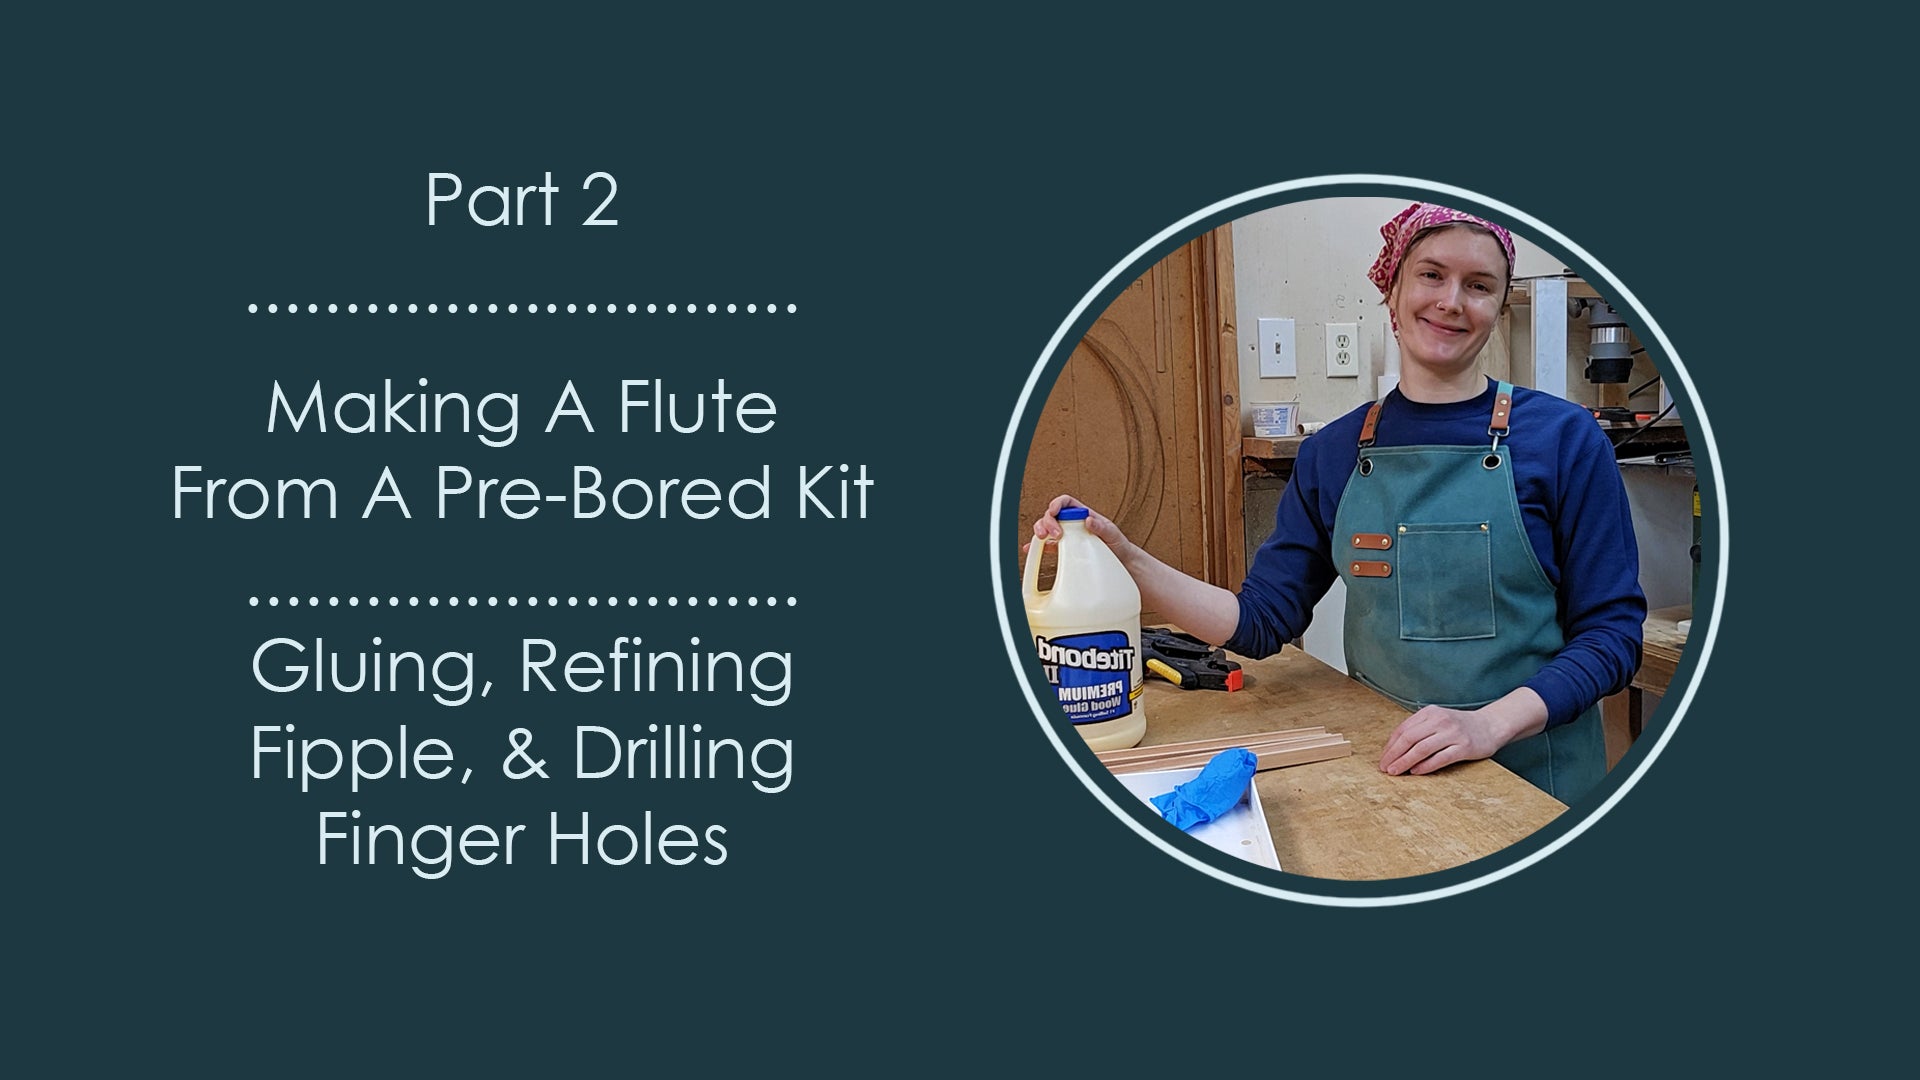
In this video, I walk you through how to glue the pre bored flute halves together, how to sand after gluing, how to refine the sound holes and how to mark and drill the finger holes.
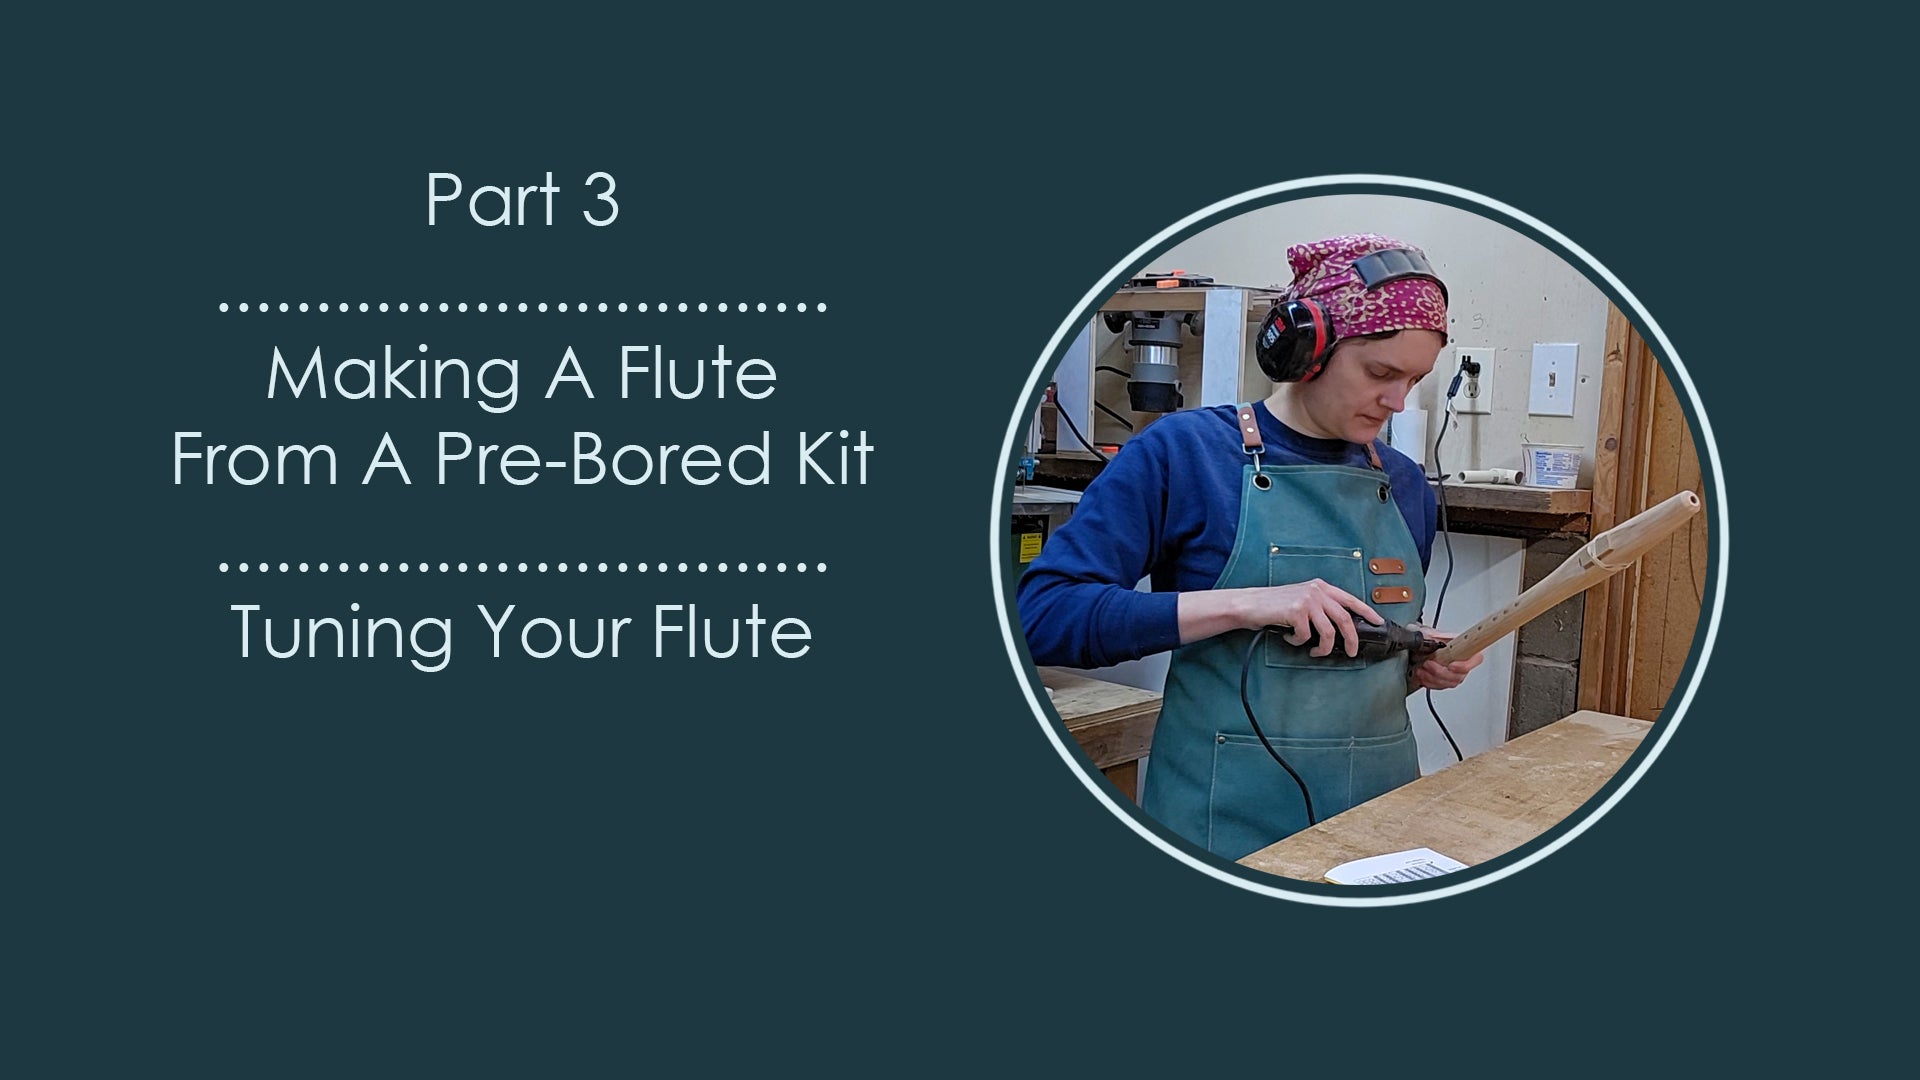
In this video I walk you through how to tune your flute using a Dremel tool.
In this final video, I show you a simple method for varnishing the inside and outside of your flute.

Our Pre Bored Flute Making Kits are a wonderful choice for
the intermediate to advanced woodworker. They are made from western red cedar
wood and come with detailed instructions with measurements for three keys, a
block base for tuning, your choice of animal or unshaped block, and a leather
tie for the block.
For this project you will need a number of tools and supplies
as well as a well ventilated and temperature controlled work space.
There are detailed instructions on each part of the process with suggested
tools and equipment frow each step in the included booklet.
The first part of the process involves gluing the flute
halves together, allowing them to dry and sanding the outside and inside of the
blanks to remove extruded glue. You will then use metal files to perfect the
sound holes (fipple holes).
Once the flute is smooth on the outside you will use the measurements given in the
instructions to mark, cut off, and drill the finger holes on the flute.
The next step is to shape and sand the flute using whatever method you see fit,
either by hand or using power tools.
After the flute is shaped you will use your preferred method to enlarge the
finger holes, playing for an electric tuner and referencing the chart provided
to ensure each hole is tuned to the proper note.
The flute will be finish sanded to remove any burn marks
from the tuning process and is now ready for varnishing. You can use whatever
varnishing method you choose but it is important to seal the slow air chamber
against moisture or your flute may crack from playing.
Don't forget to shape and varnish your flute block! There are two blocks included with each flute making kit, A flat block base and either an animal shaped block or a unshaped block. The block base is meant for gluing objects to and the larger block is meant to be carved as much or as little as you want, so get creative!
• Titebond II wood glue by Franklin.
• A glue roller and glue tray.
• About 10 medium sized spring clamps .
• A swab to reach up into the flute to remove glue that extrudes after clamping. A shotgun swab with a paper towel attached works well.
• A belt sander for sanding glued flute blanks (a hand plane will also work).
• A measuring tape.
• A drill with both a 3/16” bit and 1/4”bit.
• Small flat metal files for filing the fipple holes.
• A few sturdy rubber bands.
• An electronic tuner.
• A ¾ inch dowel with 60 grit sandpaper glued to it to sand the inside of the flute.
• Dremel with cone-shaped grind stone or anything that can be used to gradually burn the fingering holes larger.
• Superglue and accelerator (for tuning mistakes!) Starbond is a great brand.
• A small hand plane, a carving knife, or a rasp
• Sandpaper in grits 60, 80, 120, 150, 180, and 220.
• Varnish (we recommend oil based polyurethane).
• A varnish applicator such as a paint brush, a foam brush or blue shop paper towels.
• A squeeze bottle for applying varnish inside the flute.
• Gloves.
• A dust mask.
• Swab for applying varnish inside the bore (optional)
Promotions, new products and sales. Directly to your inbox.
Search
Newsletter Sign-up
Contact Us
Shipping
Returns And Refund Policy
Terms of Service
Privacy Policy